Showing posts with label crochet. Show all posts

Friday, 22 April 2022

Flaming Stripe throw and Giant Flower for wrap

 REALLY WORRIED!

I'm trying the Magic Knot in a few projects just lately, always been very fearful of these teeny tiny knots coming apart so I've resisted using them. This blanket is quite a loose stitch and ends tend to reappear so thought it was time I gave Magic knots a go....fingers crossed they work.

I'm also going to show you a new method of using a start chain....often a tight row that makes your start tight and often your work curve a bit.   


THE FLAMING STRIPE THOW

US Terms

10mm Hook

Black for the border only. 100g

Gold for the border 100g

2 Strands dk worked as one

1: A short dye spaced yarn 300g [from Home Bargains]

and

2: A longer dye spaced yarn of similar colouring 300g [Ice yarn rainbow shade]


I'm always buying short dye space yarns and then don't like how they crochet. Working a short dye space yarn with a similar coloured long dye spaced yarn or a plain colour from the first yarn helps to give a smoother transition through the colours.


PATTERN: 

Very simple hdc stitch worked into the spaces NOT THE STITCHES. This will give you the look of moss stitch without doing the chain stitches between.


ch 90

ROW 1: hdc in the 2nd ch, from hook, hdc in the next ch, miss the 3rd, repeat hdc in next 2 sts, miss the next ch, repeat to end of row finishing with hdc, in last 2sts. [60hdc]

ROW 2: WORK INTO THE SPACES only

ch1 turn, hdc in the first and every sp, to the end of the row. [60hdc]


alternative pastel colour 

ROW 3 - 100: Repeat Row 2. [60hdc, each row]


EDGING/BORDER

ROUND 1 & 2: IN BLACK, hdc in every sp, hdc ch2 hdc in each corner

ROUND 3: PLAIN COLOUR FROM YOUR CHOSEN SPACE DYED YARN: 

hdc in every sp, hdc, ch2 hdc in each corner.

ROUND 4 & 5: IN BLACK, hdc in every st, hdc, ch2, hdc in each corner.


You could leave this throw without a border, it would be the usual to do so. Most multi stranded throws don't have borders, the edges are quite neat and straight.


GIANT POPCORN FLOWERS


I am also adding giant flowers to this blanket, the pattern for these will be added next week, when I've completed the throw and decided exactly where they will go...


GIANT FLOWER PATTERN TO DECORATE THE BLANKET 
OR 
JOIN AT POINTS TO MAKE A WRAP


How to do popcorn stitch, but for this project use dc not tr,

US Terms
dk weight rainbow yarn
Charcoal dk yarn 
4mm hook


ch4, sl st, into a circle

ROUND 1: Ch2 counts as first dc, 4dc into first st, to make a popcorn st, popcorn st, of 5dc in next 5 sts, with ch2 between each. [6 popcorns of 5dc]


ROUND 2: ch2 [counts as first dc, 4dc into first st, to make a popcorn st, ch2, between, 5dc for next popcorn st, repeat a popcorn st, in each st. [6popcorn sts, of 5dc, ch2 between each]

ROUND 3: 1popcorn sts, of 5dc, ch2, second popcorn st, in same ch2 sp, ch2, repeat in each ch2 sp. of round below. [12popcorns of 5dc, ch2 between each]

ROUND 4:1 popcorn, ch2, 1popcorn, in the middle ch2 sp, of pairs of popcorn ch2, 1 popcorn, ch2, between pairs of popcorn. [18 popcorn, of 5dc, ch2 between each]

ROUND 5: 1popcorn ch2, 1popcorn in each sp, between pairs, ch2, 1popcorn in next 2 sps, repeat, to end [24 popcorn of 5dc, ch2 between]


ROUND 6: Att. CHARCOAL, for petals. 

sc, in first sp, 2sc, in next sp, sc, ch9, sc in next sp, *2sc in next 3sps, sc, ch9 sc, in next sp, repeat from * to end finish with the 2nd sc, in first sp, sl st to complete [2sc in every st, with ch9 in every 4th st]

ROUND 7: cont. in charcoal. 8dc, into the ch9 loop, ch3 picot at the point, 8dc in same loop, sl st, in the sp between 3rd and 4th sc,  repeat  to end [6 petals of 16 dc, with a ch3 picot at point]


Make as many large flowers as required to decorate your blanket. Sew onto blanket with small stitches so as not to show on the reverse side. 

OR
make a wrap of 3 rows of popcorn, join as you go replacing the middle ch, of the popcorn as the joining stitch.


Sunday, 10 April 2022

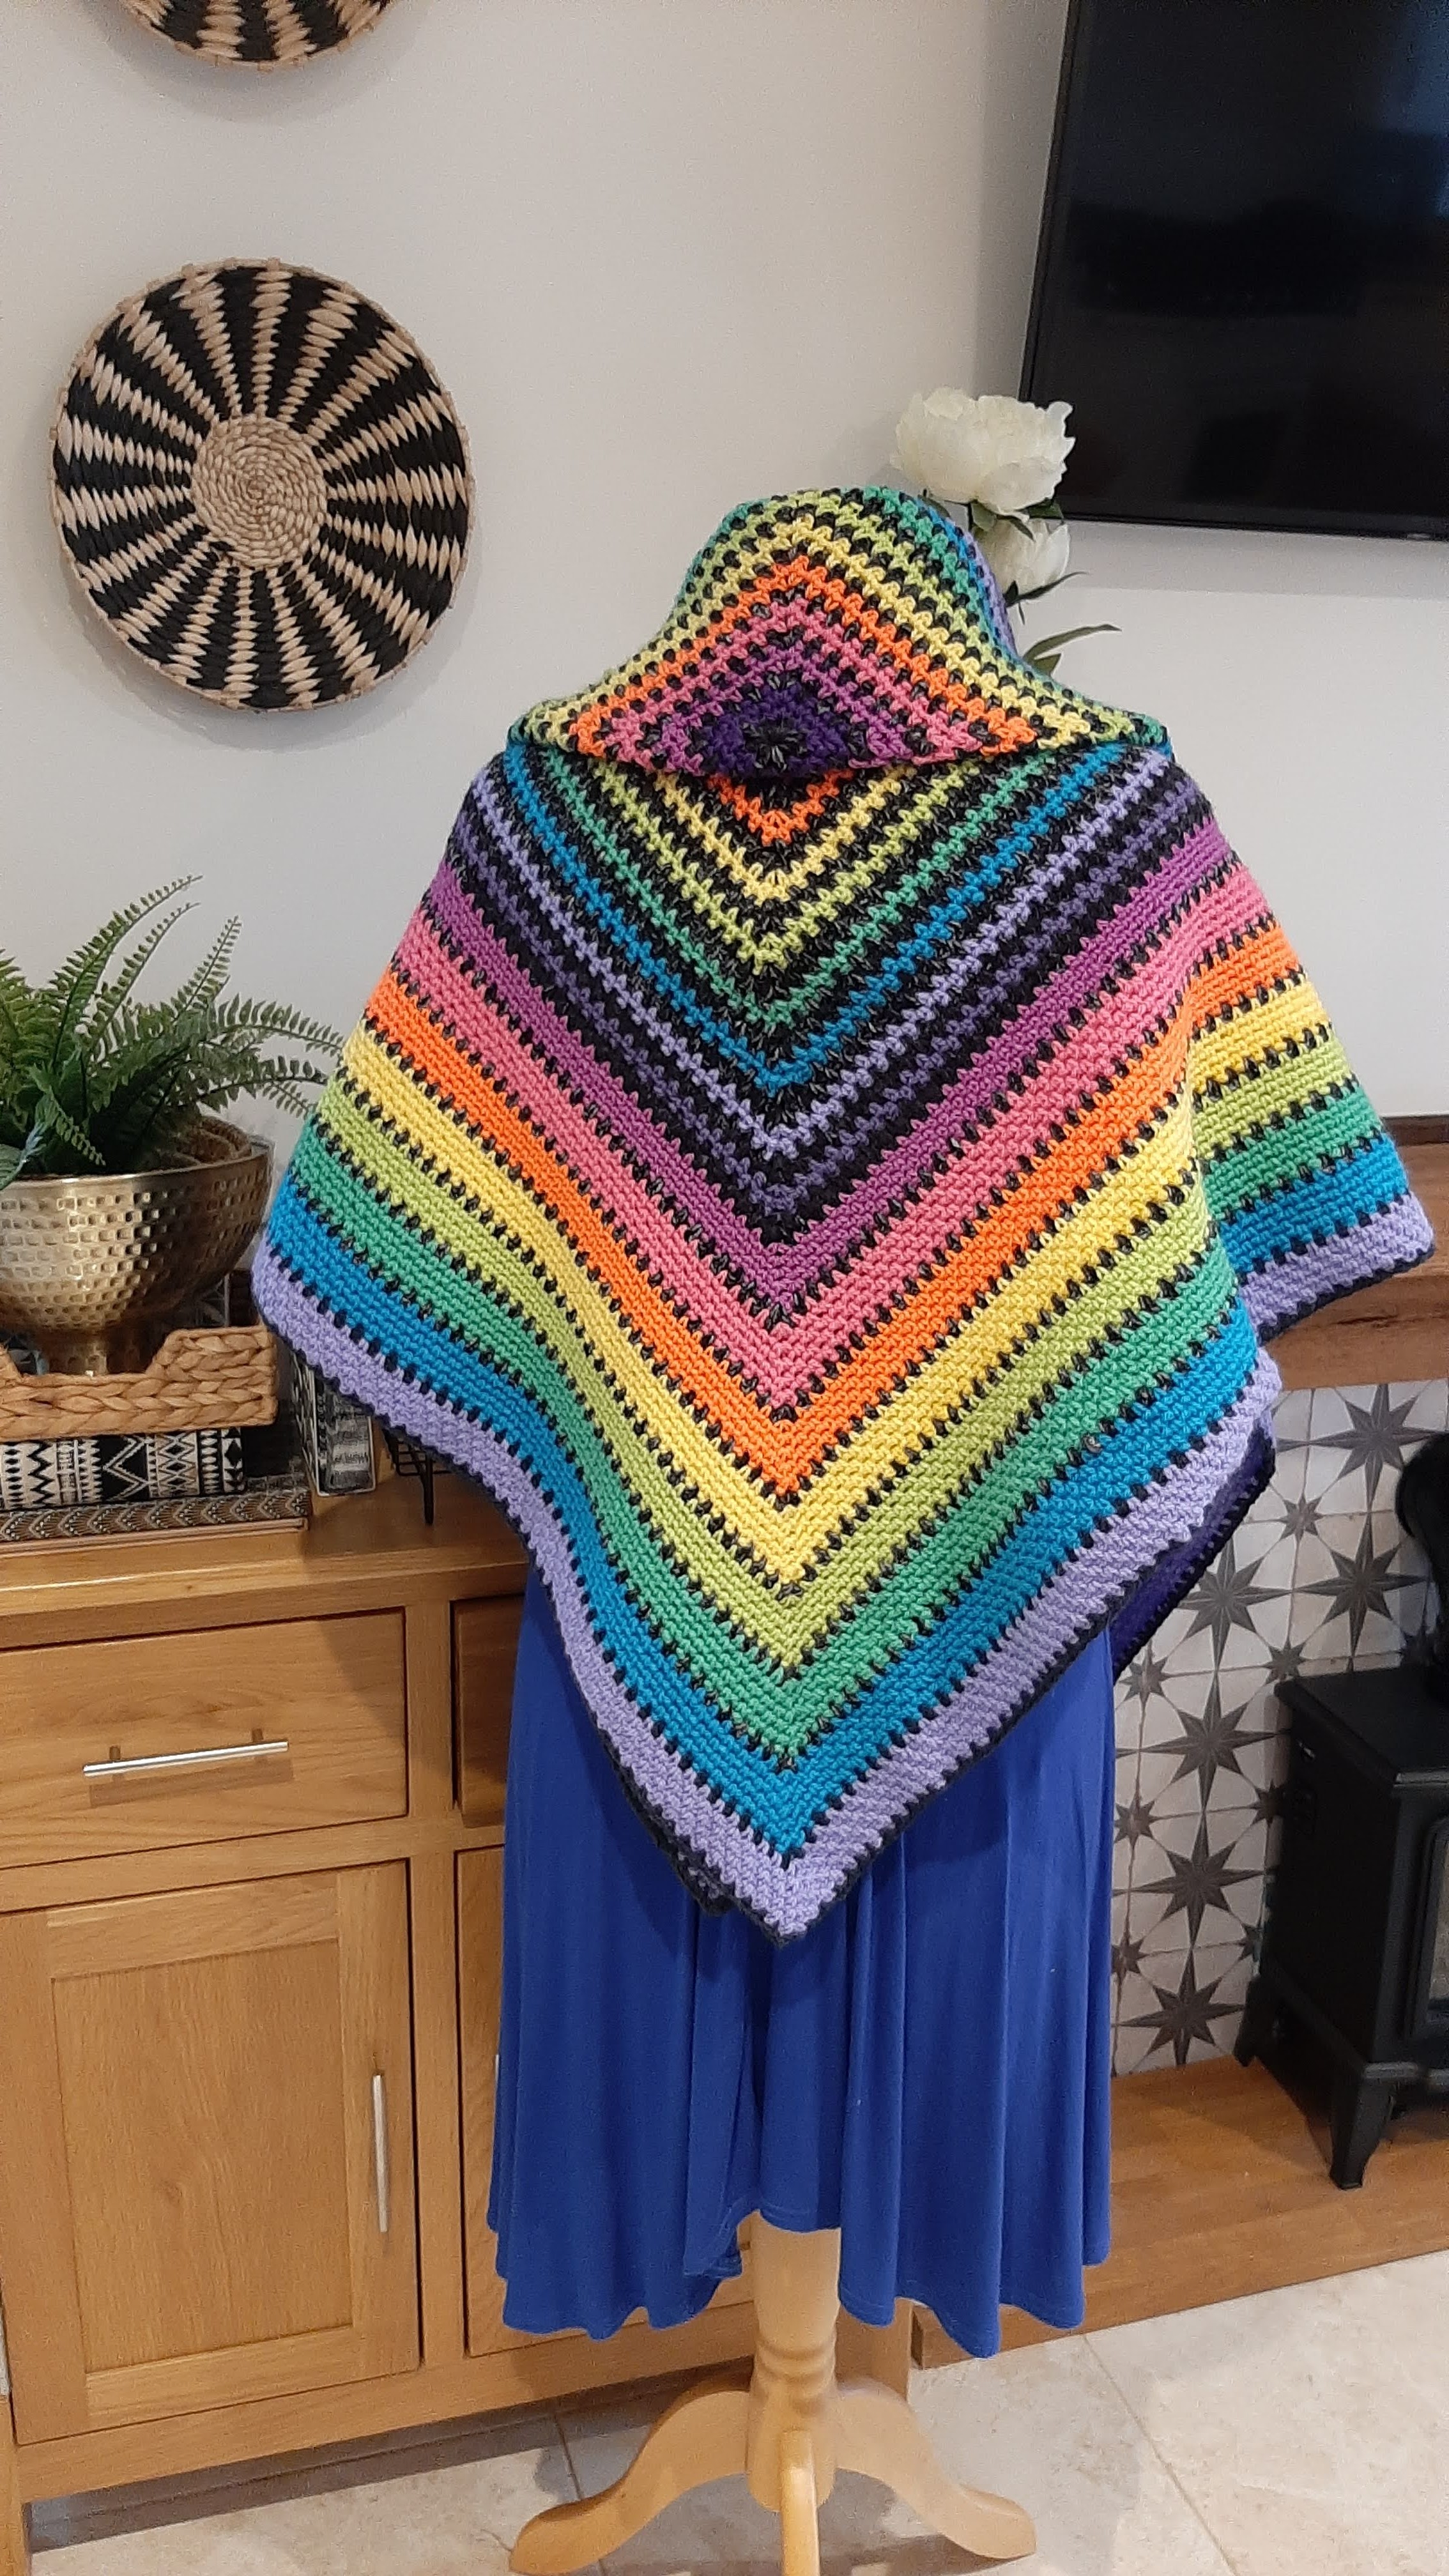
CAL 2022 Rainbow Moss Stitch Sampler blanket/wrap.


RAINBOW MOSS STITCH SAMPLER BLANKET /WRAP

A very simple Moss Stitch CAL, for everyone. All the work done for you just by changing the colour of the next row.


A large moss stitch square blanket that folds in half to make a very think snuggly wrap.
Measuring approx.51" [130cm] square with a diagonal of around 6' 2" [188cm]

All done with the simplest of stitches: Moss stitch in a square no stitch change at all only colour changes in each row

MOSS STITCH: is sc, ch1 sc, ch1, repeated nothing more than that.  With ch3 for corners only.

YARN: weighs approx 860g
UPDATE:
APPROX. 100g of each col. You use slightly less of the black and depending on your tension but one ball of 10 colours should make the blanket

All dk in 9 rainbow colours and a base colour of flecked black, charcoal grey, navy, or even solid black.
I've used. several brands of dk in... 
1. Purple, 
2. Magenta, 
3. Bright pink, 
4. Orange, a
5. Acid yellow, 
6. Soft lime green, 
7. Soft jade green, 
8. Turquoise, 
9. Lavender blue 
Flecked black as base col. Patons Fab dk in Black Denim.

My yarn is old and I've had it a long time so this is the nearest yarn I could find and is exactly the same as my yarn, its on offer here right now but you can get it from other yarn stores. Or even use solid coloured dk,


PART 1 PATTERN: US Terms, dk yarn, 5mm hook

HELPFUL NOTES: Please read.
Moss Stitch can be a little tight, so I've used a hook size bigger than normal for dk yarn, this will help with any tension problems and give your blanket a softer feel.

Moss stitch can also lean to the left, the direction of all your stitches, by reversing every few rounds this was corrected too.

I suffer with arthritis in my fingers and my tension can be all over the place, I found working with a 5mm hook, helped but could make the blanket get a little wavy, so I would use the 4mm hook for a round every 4 or 5 rounds, stopping the edge getting wavy. 

START: CH3 sl st, into a circle. Crochet over the tail as you go.

Round 1: Black Denim or chosen base colour, ch4, counts as a sc and ch3 corner, sc, ch1, then repeat following 3 more times, sc, ch3, sc, ch1, on the final corner sl st, into the  ch4 of beginning. Pull yarn through st, and carry through this first section.
rounds1

Round 2: FIRST RAINBOW COL. turn and work in reverse, att. in any corner, ch4 counts as sc, and ch3 corner, sc in same corner sp, ch1, sc in next ch1 sp, ch1, repeat following 3 more times, sc, ch3, sc, in corner sp, ch1, sc, in next ch1 sp, ch1, then sl st, into first ch4 sp, cont.
rounds 1-3

Round 3: cont. with first rainbow col. repeat round 2 but with 2 side sp,
 sl st into first corner sp and repeat round 2,  ch4, sc in same sp, ch1, sc, ch1 in next 2 side sp, then repeat 3 more times, sc, ch3, sc, in same sp, ch1, sc, ch1, between in next 2, ch1 sp, repeat, sl st into ch4 sp, pull yarn through cut off and weave in end.

Round 4-28: REPEAT ROUNDS 1 in Base col. 2 AND 3 for each chosen rainbow colour. Finish with base col.

Part 1: 1 background colour, 2 rainbow sequence. this is an alternative colouring.


9 different colour section for this PART 1 of the CAL.

RAINBOW MOSS STITCSAMPLEBLANKET /WRAP
PART 2 will be posted next week.


PART 2: US Terms
Continue with the moss stitch: sc, ch1, repeated, with sc, ch3 sc at the corners.
Colour change: 2rows in your sequence of rainbow colours, with 2rows of black, alternate, finish with black. 36 rows in total if you have used a colour sequence of9 colours. 10 in total with the black.


PART 3:US Terms
Continue with the moss stitch: sc, ch1, repeated, with sc, ch3 sc at the corners.
Colour change: 5rows in your sequence of rainbow colours, with 1rows of black, alternate, finish with black. 54 rows in total if you have used a colour sequence of 9 colours. 10colours in total with the black. 


Tuesday, 8 February 2022

HOW TO DO A GRANNY SQUARE


SUE PINNER'S VERSION OF THE GRANNY SQUARE:

There are several versions of the Granny Square on the internet, some good and some not so good. The design of a granny square has holes, that do not need to be made bigger bye adding chain stitches between granny shell, unless extra stitches are required.

Starting with the granny shell first then completing the second granny shell and corner chain stitches means the join on each round moves across the side of the square...not good practice.

If you use more chain stitches than pull throughs you will have a line through your square that is ugly to look at. And also means a different start to each round, not good for a beginner.

My version is beginner friendly, easy, neat and starts and finishes in the same place every round. I also prefer a slightly padded centre circle for neatness and look.


SUE'S BEGINNERS GRANNY: US Terms, USING ONE COLOUR CONTINUED.

A finger wrap of 6 wraps, slide off finger carefully and work all stitches into circle.


ROUND 1: ALWAYS Start with a corner, ch5 [2ch as a dc, and 3ch as the corner], 3dc into circle, ch3, 3dc, ch3, 3dc, ch3, 2dc, into circle, sl st, into the 2nd ch, of the first 5ch, this completes the first round.


ROUND 2: Sl st, into the corner sp, and repeat, ch5, 3dc into first corner sp, 3dc, ch3, 3dc, into next corner sp, 3dc, ch3, 3dc into the next 2 corners, complete the round with 2dc, sl st, into the 2nd ch of first 5ch. 


ROUND 3: Sl st, into the corner sp, and repeat, with 3dc, granny shell in the side sp, 

again start in the corner, ch5, 3dc into same corner sp, 3dc into side sp, 3dc, ch3, 3dc, 3dc in the side sp, repeat for remaining sides, complete with 2dc, sl st, into 2nd ch, of first 5ch.

ROUND 4+: REPEAT ROUND 3. Each round with have another side sp to add a granny shell of 3dc in that too.


IF YOU WANT A VERY LARGE GRANNY SQUARE THROW:

Change direction every round, so that it dopant start to 'spin', crochet has a tendency to spin when worked continuously in the same direction. So by changing the directions each round, it stays perfectly Square, and also becomes double sided, no right or wrong side. Win, win.


Tuesday, 25 January 2022

ARTHRITIS, CROCHET AND A DABBLE IN COIL BASKETRY

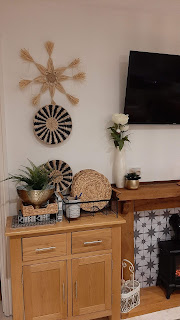
 Basketry...it all started because we had 11 for Christmas. We needed to make plenty of room for everyone to be seated comfortable.....moving the island [on wheels], out of the way a bit, gave me the idea to move the sideboard to the side of the fireplace and leave the island roughly where we'd put it for Christmas gave us a fabulous open space. 


It was now a space I loved for the first time in 4years, since we took the wall out to make a big open kitchen dining room space.

For a while now, I've been wanting to paint the purple fireplace wall, back to white again. A harder job than we had expected. TIP, stir the paint before you use it, 3 coats later we had a lovely white wall again. I added new antique star [paper] tiles to the fireplace and we moved the huge circular mirror above the sideboard...combination of white awl and the mirror has added a lot more light to the kitchen too.


I also tried the table around the3 other way, loving how its all come together with not too much work..
Love the shadows cast by the new string light...

Moving a few pieces of furniture around, cube unit back to my workroom, the small sideboard from the hall to the kitchen and found a solid pine chest of draws for the hallway.

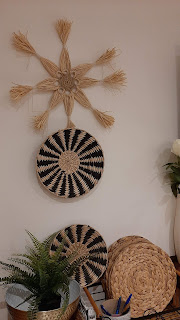
Decided I loved the  Simple Boho look, white, wood, lots of plants, and some black and natural basket plates. 

found and printed out 2 tiles on an A4 sheet, and glued them over the blue paper tiles 

Before and after, blue to black and white...

b


Discovered basketry plates are really expensive, found a couple in B&M at a very reasonable price.....I take back all I said about basketry being expensive, after discovering the work involved in making a plate.

I wanted more of a divide between long and kitchen/diner so added a striped static film to the glass, took £3 of static film and less than an hour to do these doors.

BASKETRY.....LOVE You Tube, doesn't matter what you want to learn, its on You Tube.

I'd bought some raffia to try CROCHET, a couple of months back, too hard for my arthritic fingers, but using the simple coil, embroidered technique I was sure my weak fingers would manage.....The Basketry journey began

my first effort, using the blanket stitch join
                         took me quite a while to make, but no finger pain and I learnt a lot

couldn't work out how to do 2 colours so I fudged this one, but it sort of worked, I now know how to do 2 colours

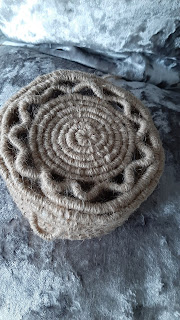
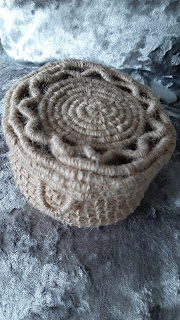
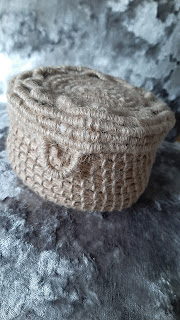
Then I had a go at a tiny pot in Jute string, not raffia.

Next came a larger version of pot, make blanket stitch join, then a lid trying out the figure of 8 join, progress as I tried a more decorative pattern. 


But still need to complete the plate, I kept running out of Raffia, because you use so much it actually was quite expensive stuff.

WILD WEAVING
You Tube again told me all about wild weaving and foraging for your raw materials, something I will definitely be doing in the Summer, nettles, brambles, ivy, lavender and grasses, make great wearing materials.

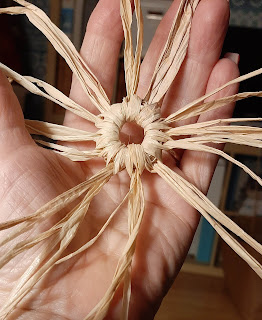
SMALL END BITS OF RAFFIA
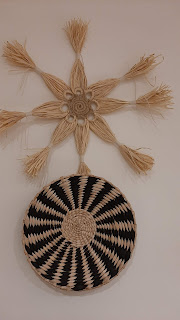
Turned into the start of a wall hanging and a larger decorative contemporary plate...still to be completed

A Large Plate in the making, thinking black raffia circles between the bound area....

Had no idea where this was going but it led to a small fish like motif swell as the plate centre


A basket stitch crochet cushion in the background, took me days to complete, so crochet time was limited because of the arthritis

This little motif gave me a couple of ideas, a large plate centre and a larger window or wall hanging. Depending on how they are joined together it looks like a flower or a row of fishes...


Loved the Little Fishes...


Loving this new hobby of simple coil basketry.
Although my passion is still crochet, when the fingers hurt too much I know there is something else I can be creative with