Sunday, 25 December 2016

BATIK BEAD N BEZEL NECKLACE PATTERN

BEAD N BEZEL NECKLACES 
2 OPTIONS FOR THE BEZEL

A Nice new pair of sunglasses crying out for a new bead n bezel necklace and of course it had to be in my favourite yarn of the moment BATIK...

 So my afternoon project was a new necklace, a slightly different version to the first Bead n Bezel necklace in October last year.......Pattern HERE


And then there were two...
Bead N Bezel Necklace 
PATTERN:
4mm hook
Stylecraft Batik used for this particular necklace but you could use any dk or 4ply
 About 9 beads make a good size necklace but yo can make as many as you need. DK yarn or finer but the finer the yarn the more sc [dc], you will need to do to fill the finger wrap.


 finger wrap of 10 wraps
 ROUND 1: 14sc [14dc], into the finger wrap, sl st to complete.
 ROUND 2: Cover the first 14sc [14dc], with 33sc [33dc], approx. another two rounds, sl st to complete, cut off and weave in end.
 ROUND 3: Att bezel yarn in any st, 2sc [2dc], in every st, this can vary by 1 or 2sts, on each bead, no need to count them it isn't that important they are all identical.

 ROUND 3: Second bead, 2sc [2dc], into half of the sts, again its approx. then do 2sc [2dc] into one extra sts, approx 18 cont. [36sc (36dc)]

 ROUND 3: Cont. to do 1 or 2sts, more than half of each bead until you reach the last bead.


 CHAIN CORD: ch approx, 60sts, longer or shorter if you require. be careful not to swist the necklace. 

 Att. ch, cord to the first bezel at approx half way,with a sl, 
 Return along the ch, on the side of the unfinished beads, 1sc [1dc], in each st
 when you reach the first unfinished bead n bezel, continue with the 2sc [2dc], in each st, of first bead
 when you reach the next bead sl st around the joining st.
 Continue with 2sc [2dc], in every st, and sl st, on the joining sts, until you reach the first completed bezel, sl around the joining st, leave a long end to sew off securely.
 The Bead N Bezel necklaces can be made in a selection of colours or in just one colour.


How to make the simple Buttons and the Gem Necklace
Bead 'n' Bezel


BUTTON PATTERN
US Terms in Balck UK Terms in red Brackets

One finger wrap of 10 wraps.

ROUND1:sc [dc], into the circle 12times, sl st to complete.


ROUND 2: 40+sc [40+dc], into the circle over the top of round 1
 continue until you have a dughnut for a button and continue to fill the hole for a Gem
 NOTE: don't pull the stitches tight but not loose either.


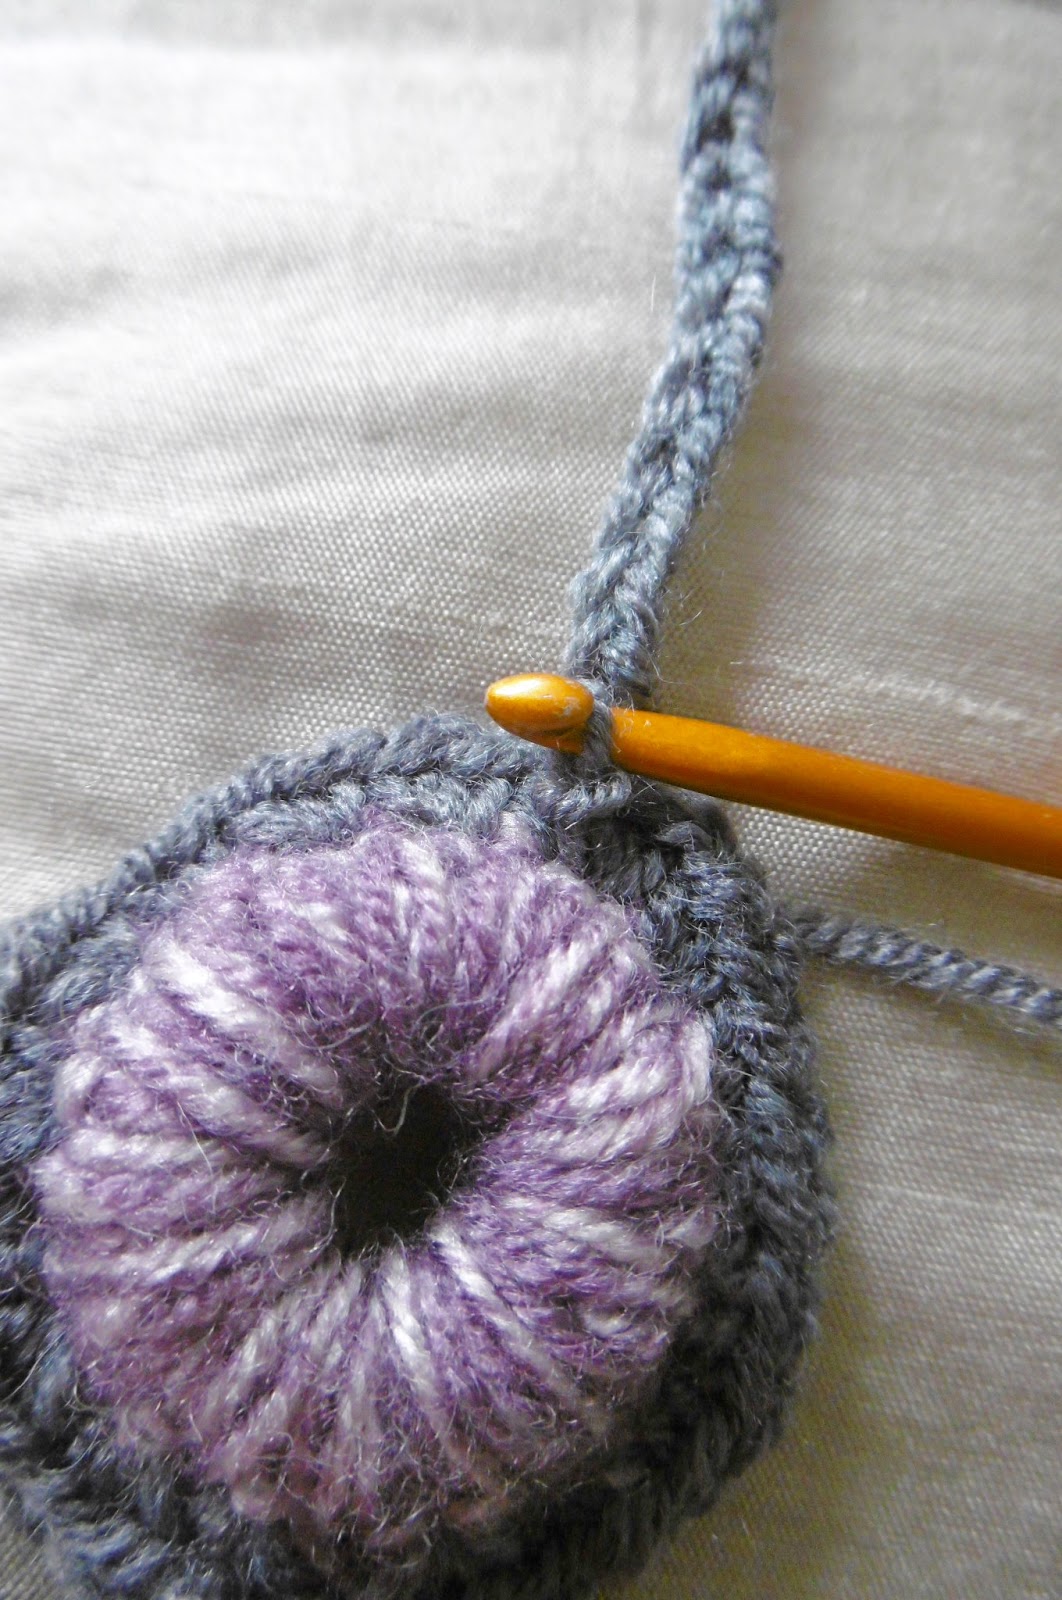
Turn Gem over this is the side that will be on view

A doughnut for a button,
A Gem...fill the hole completely about 50-60+ sc [dc]. 

NOTE: How many sts you need will depend on your tension the figures are a guide, but all your button or Gems need to me made the same, so after the first one, make all buttons and Gems with the same number of sc [dc]

leave a long end for sewing
add to projects as decoration or as actual working buttons...the middle button is through a button hole in the mini bag above


Making a Gem Bezel 
Three finger wrap of 8 wraps

Round 1: 32sc [32dc], into the circle sl st to complete.(32sts)

Round 2: sc [dc], in every st, sl st to complete. (32sts)
Round 3: 2sctog [2dctog], x 16 times (16sts)
Round 4:2sctg [2dctog], x 8 times (8sts)
Round 5: 2sctog [2dctog], x 4 times (4sts)
Round 6: 2sctog [2dctog], x 2 times (2sts)


cut off and leave a long end for sewing 
turn the bezel inside out and reshape, pull long end through middle st, 

place a Gem inside the cup bezel pulling end through the middle of the bezel, 
the gem should sit snug inside the bezel,


Tie the two ends together one from the gem and one from the bezel

sew off the gem thread and use the bezel thread to join the gems in bezels 
together. 

Thread the long end to one side of the Gem, over stitch with small stitches the the next Gem.

Make several and sew together in a straight line for a bracelet or with a slight curve for a necklace.

LENGTHENER
Attach yarn to one bezel add a length of ch st, to fit.
Row 1: sc [dc], in every ch st sew off end securely


HAPPY HOOKING
Make a set of Gems in the colour of your choice and join together in a variety of different designs.

In a triangle of 3, in a long row long enough to make a complete necklace, or join 7, 8 or 9 Gems together for a necklace

or 5 together as a bracelet or make a statement ring with a singe Gem


 This necklace is made in Merino and Alpaca


Friday, 23 December 2016

Angel Wings Shawl, PATTERN PART 5 and 6

Hi all, well the response to this Angel Wings shawl pattern has been amazing thank you everyone.
Just to answer a question that keeps being asked by new Members to the group, this is a shawl pattern that can be stopped in several places, 100g DK, 200g, 250g Aran and will go up to but not over 300g in dk, dk is yarn you would use a 4mm hook with hope that helps.
I will be adding pictures of all the variations and sizes next week with the remain pattern parts

Link to Facebook Group 
give aways,  lots of funny chats and help if you need it

Today's part's 5 and 6 are the same stitch but will take longer to do so i'm giving them to you as one post and the remaining posts will be after Boxing day along with some pictures of completed Shawls, 100g (dk version), 200g, 250g (Aran version) and 300g versions 


PART 4 HERE

This one is in Aran 250g ball, made with 5mm hook and measures
41" 104cm, from side to side
20" 51cm, top to point 
I still have about 30-40g left.

Angel Wings Shawl part 5 and 6
US Terms first and UK Terms in brackets.
6 rows of dc [tr]  

ROW 22: Turn, ch 2, 1dc [1tr], in every st, and 1dc [1tr], in every ch sp, to point.
 At the point do 1dc [1tr], ch2, 1dc [1tr], complete the row with 1dc [1tr], in every st,and 1dc [1tr] in each sp,  finish with 1dc [1tr], in the last sp.


Row 23-27: turn, ch2, 1dc [1tr], in every st, to point, at the point 1dc [1tr], ch2, 1dc [1tr], 1dc [1tr] in every stitch of second side. finish with 1dc [1tr] in sp between last 2 sts. 

Part 5: Quick view of stitches in rows
Row 22: 92sts each side
Row 23: 93sts each side
Row 24: 94sts each side
Row 25: 95sts each side

 6 rows done

Part 6:
Row 26: 96sts each side
Row 27: 97sts each side


PART 7: After Christmas and Boxing day

MERRY CHRISTMAS ALL
hope you all have a wonderful time  
see you all soon xx

Sorry the printable pdf's didn't work they will be available soon and done by and Expert Teresa Day sorry my efforts didn't work
Merry Christmas All xx

Thursday, 22 December 2016

Angel Wings Shawl PART 4

ANGEL WINGS SHAWL MINI CAL
To be completed by New Year 2017


TIP
Before we start part 4 a TIP: check your first row of 'v' stitches, don't do what I did and find on the 2nd return row about 6" in, I had only done half of the 'v' stitch and had to rip back 12" of work.
GENERAL CHAT
Hope everyone is getting on OK? No huge problems have happened so far, one or two of us can't count, lol..... seems to be the only real problem, including me. So far all seems to be swimming along just fine....lots of help and friendly discussions are going on, on the Facebook group HERE. And thanks for the fabulous response to the Angel Wings Mini CAL.

If you want to join the fabulous hookers in the Facebook group and there are some really funny and entertaining chats going on then click the link above and request to join. 

There are also some great give aways too, when we reach certain targets, don't miss the freebies. 
My fabulous admin team of Chris Shepherd and Teresa Day are there to help, I pop in several times a day and all the group members are friendly and helpful, funny and sharing some fabulous Angel Wings as they progress.


ANGEL WINGS SHAWL PART 4 PATTERN
By the end of part 3 I am getting to the end of a 100g ball of dk,
  in one yarn but not in another so the dk's can be different as we know.

 It is now a possible stop point and makes a 'Shawlette'  and is wearable already 
WITH THE ADDITION OF A BORDER...in a post to come next week

STITCHES: 'v' st...1dc [1tr] ch1 1dc [1tr],  in every other base st.
ie: 1dc [1tr], ch1, 1dc [1tr]

ROW 16: turn, ch2, miss a st, 1dc [1tr], ch1, 1dc [1tr], in next st,  miss a st, repeat 'v' st to point, in the point do a  'v' st with ch2 between the dc [tr], 
 miss a st repeat 'v' st, to end of row, finish with miss a st 1dc [1tr], in last sp.
(28 'V' sts, each side,  1 x 'v' st at point)


ROW 17: turn, ch 2, 'v' st. (1dc [1tr], ch1, 1dc [1tr]), in every 'v' to the point of the shawl, in the point of the shawl do a 'v' st with ch2 between the dc [tr] , repeat 'v' st to end finish with miss last st, 1dc [1tr] in sp between last 2sts.
(28 'v' sts each side, 1 'v' st at point
  
ROW 18: An increase row, turn, repeat row 17 but do 2  normal 'V' sts in the point 
(29 'v' sts each side)

ROW 19:  turn, Repeat row 17.
(29 'v' sts each side,  1 'v' sts with 2ch between dc [tr], at point )

ROW 20: turn, Repeat row 19
(29 'v' sts each side,  1 'v' sts with 2ch between dc [tr], at point )

ROW 21: Another increase row: 
turn, ch 2,  1 'v' sts in every 'v' with 2 normal 'v' sts in the point
(30 'v's sts each side)


Part 5/6 of the pattern tomorrow 


Wednesday, 21 December 2016

Angel Wings Shawl part 3 pattern

I hope you are all doing ok with the pattern so far? Lots a fabulous AW Shawls appearing on the Facebook group HERE.

Lots of funny chats and a helpful, friendly group is having lots of fun, thanks to the great admin too, Chris and Teresa, sorry i've kept you so busy 
YOU'RE DOING A FABULOUS JOB. 


Angel Wings Shawl PATTERN part 3
Arches of dtr [ttr] and 4 rows of dc [tr]
dtr [ttr], is yo 3 times pull through 4


ROW 11: turn, ch 4, 1dtr [ttr], into first st, ch2, 2dtr [2ttr], into second st from picot at the dip, making arches over the picot loops, repeat to end of row, finish with 2dtr [2ttr], in last st.
(28pairs of dtr [ttr] )


ROW 12: turn ch 2 as first dc [tr], 1dc in next st, 2dc [2tr] in next sp, 1dc [1tr], in next 2 sts, 2dc [2tr], in next sp, repeat to point, at point of shawl 1dc [1tr], ch2, 1dc [1tr] repeat the 1dc [1tr] in every st and 2dc [2tr], in ever sp, finish with 1dc [1tr] in last st and 1dc [1tr], in last sp between last 2 sts. ( 55sts each side)

ROW 13-15: turn at the end of every row, ch 2 as first dc [tr], on each row,

nice easy bit this 3 rows of dc [tr] one in every st. with 1dc [1tr], ch2, 1dc [1tr] at the point of the shawl. 
Row 13: 56sts each side
Row 14: 57sts each side
Row 15: 58sts each side


PART 4 TOMORROW