It's been fascinating to see how all The Angel wings Shawl look so different in shape and size. How the use of a particular yarn can make such a difference to the same pattern......
INTRODUTION TO ANGEL WINGS MINI CAL HERE
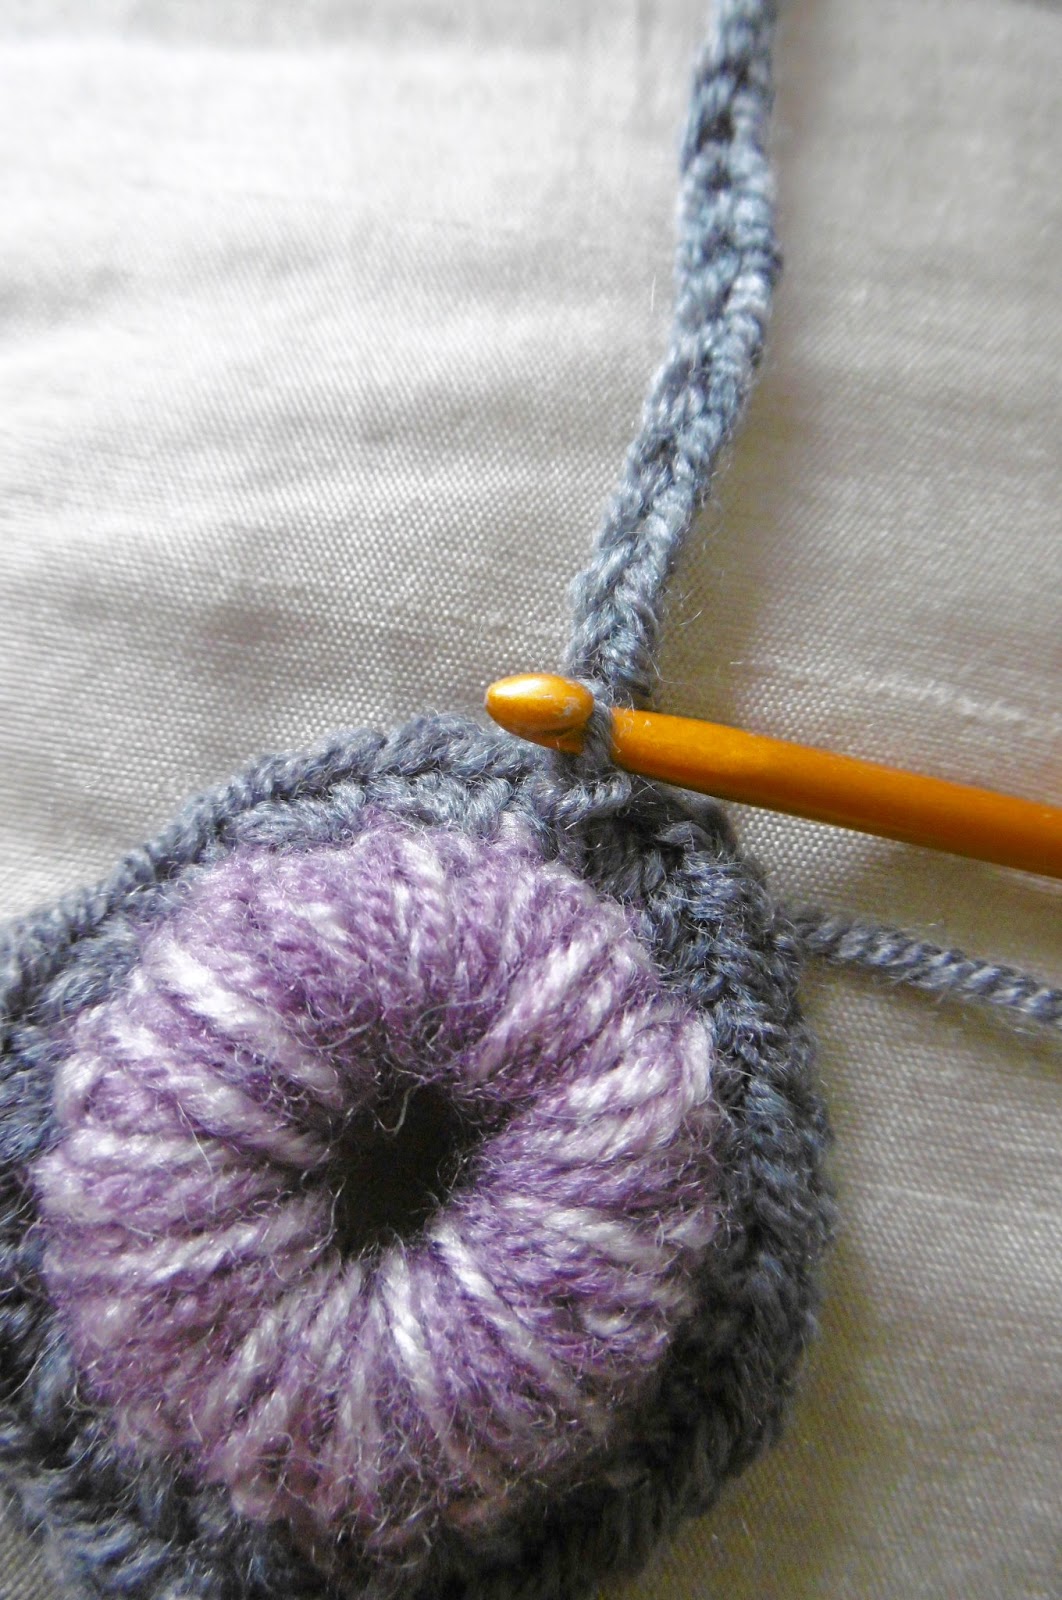
YARN SAMPLING HERE
AND HERE
PART 1 HERE
PART 2 HERE
PART 3 HERE
PART 4 HERE
PART 5 AND 6 HERE
PART 7, 8 AND 9 HERE


 Where used this edging stitch first, on a Granny Square Blanket


YARN SAMPLING HERE
AND HERE
PART 1 HERE
PART 2 HERE
PART 3 HERE
PART 4 HERE
PART 5 AND 6 HERE
PART 7, 8 AND 9 HERE
Angel Wings PATTERN Part 10 the finish, 2 options
OPTION 1:
OPTION 1:
NOTE: I'm not giving numbers of loops and picots for this finish, because you could all have a different number, having stopped at different places.
ROW 1: Turn, ch5, sc [dc], into next sp, ch5, sc into next sp, repeat, to point, at ch2 point, sc [dc], ch5, sc [dc], into ch2 point, repeat ch5, sc into next sp to end, last sc [dc] goes into the sp between last 2sts.


ROW 2: Turn ch5, sc [dc], into first ch5 loop, repeat to end, Finish with a sl st into first ch st of the loop below


ROW 3:turn, sl st, into 3ch sts of the first loop (you are now in the correct place to start this row of ch5 loops)
repeat the ch5 loops and sc sts to end of row, finish with a sc [dc] in last ch5 loop.
ROW 4:turn, 3sc [3dc], into first ch5 loop, make a picot of ch3, sl st into the sc [dc], to complete the picot, making a tiny bobble,2sc [2dc], into the same ch5 loop, to complete the first picot detail, repeat in every ch5 loop to end


NOTE: Again no numbers of points as you could all have a different number, but you should all have an odd number of granny shells not and even number for this finish
OPTION 2:

ROW 1: Turn, sc [dc] in first sp, between the first 2 sts, 2tr [2dtr], ch3 2tr [2dtr], in next sp, between the granny shells, sc [dc] in next sp, between gs, complete to point, in ch2 point, 2tr [2dtr], ch3, 2tr, [2dtr], in same sp, sc [dc], in next sp, repeat to end fi is with a sc [dc], in last sp.
ROW 2: Turn, sc [dc], in next 2st, then 2sc [2dc], ch2, 2sc [2dc], in ch 3 point, sc [dc] in next 2 sts, sc [dc], into the sc [dc], in dip then repeat to end of row.


That completes the Angel Wings Shawl mini CAL
NEXT MINI CAL?
I'm assuming from the numbers that have been made and shared your fabulous AW's on the Facebook group that you have enjoyed the mini cal.
There haven't been too many hiccup for a last minute pattern and from what some have said its kept them sane over the Christmas hols.
The next project I am going to make, is a Granny Square Skirt, for my son's lovely gf, Bethany.
If you want to make a simple granny square skirt, for someone or for yourself then this is the next mini cal.
Im using merino and 50% merino/acrylic mix details on the 1st January 2017
It needs to be completed by the 8th January....for the birthday girl on the 9th
All parts of the pattern will be on this blog and all linked to the Facebook group
HERE