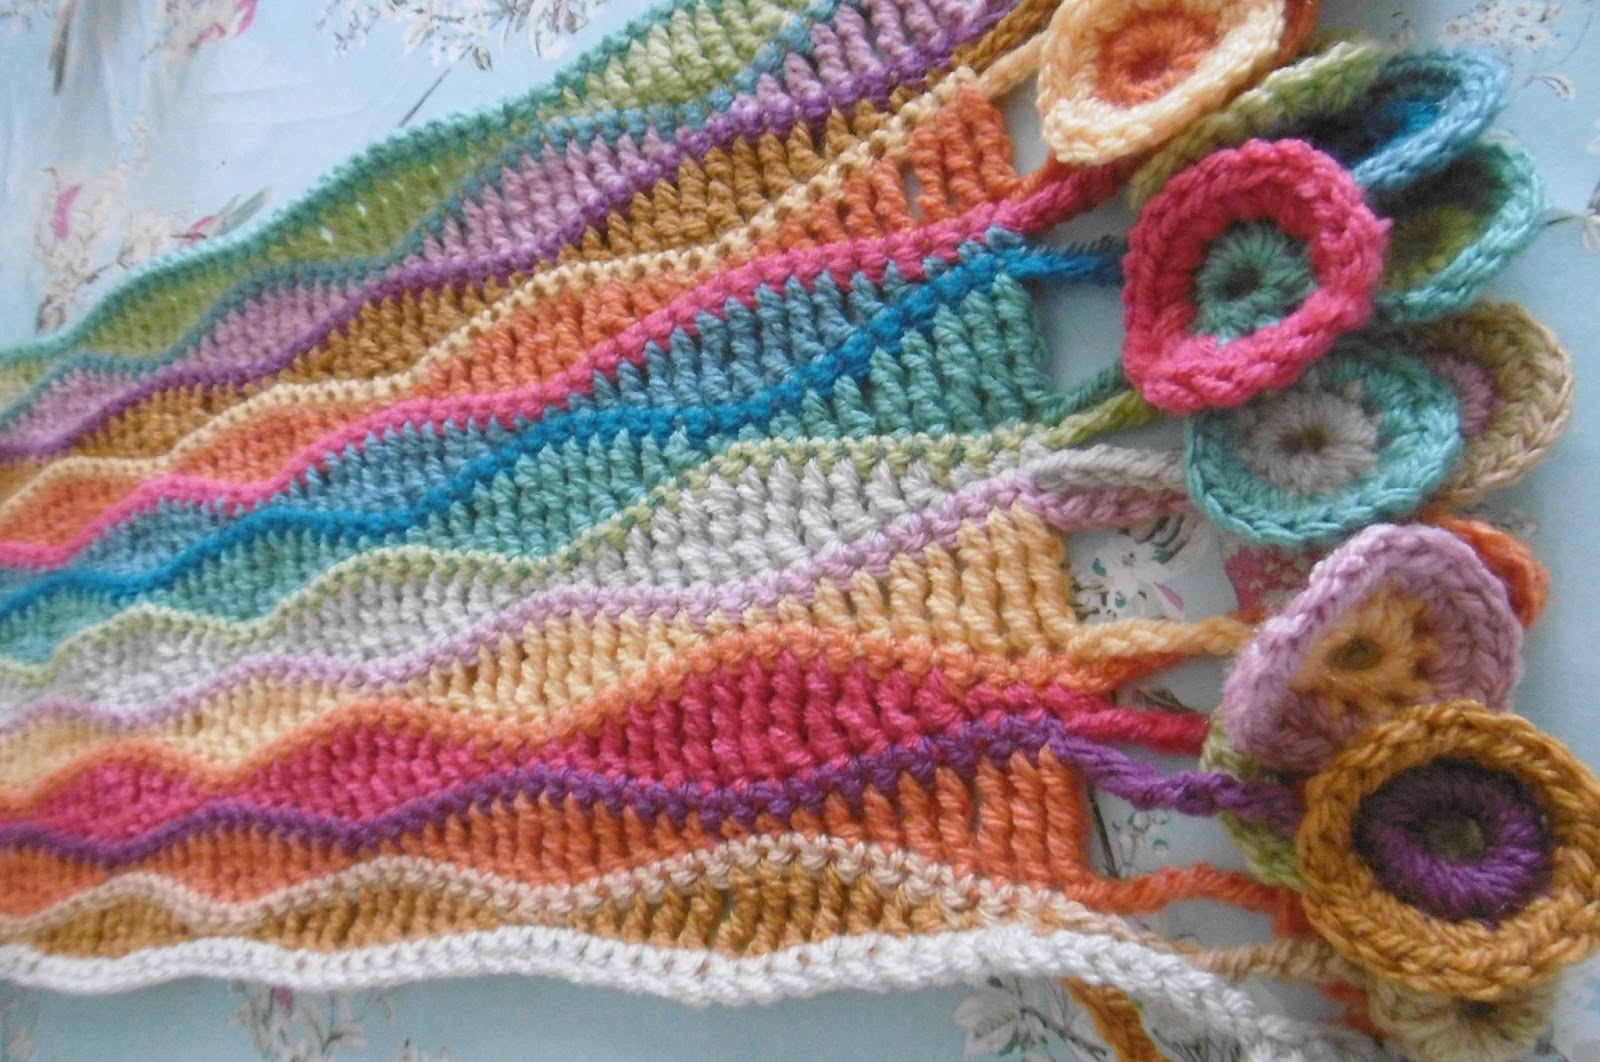
To make the reversible version of the cushion, you first make two of the mandala/star patterns, so you have two completed circles. A striped cylinder, with an opening that allows you to put the cushion pad in, connects these two circles – that cylinder incorporates a button band/flap.
For the joining cylinder band the stitches you will work into are:
18 triangles (5 stitches and 2 chain 3 spaces) = 7 stitches
AND
1 stitch into each of the chain 3 spaces of 18 diamonds (the spikes at the top)
which will give you 144 stitches in total – the cylinder band is created by doing 12 rows of sc (dc) creating coloured stripes.
Before you make the cylinder you make the ‘button’ band, which is the flap that tucks inside the cushion closing, and to which you attach the fastening to close the cushion once you’ve inserted the pad.
This flap is crocheted directly on to the cushion side, which means that you will need to ‘duplicate’ the stitches used to create the flap when you make the cylinder – this is done by chaining across the space, and that chain then acts as the foundation chain for the stitches that are needed to make the cylinder shape (which would otherwise be missing the stitches used to create the flap).
The flap is worked into 49 stitches – when you have finished making it, you reattach your yarn to the stitch at the base of the cylinder (i.e. the last stitch that you used on the first row of the flap) and work around the circle until you get to the other side of the flap, you then start the chain to cross the gap, and slip stitch back into the first stitch of this round thus creating a complete circle, you then work up that circle to create the cylinder.
Here are Sue’s instructions with a few bits added in italics to help to explain…
· Make a button band with 6 rows of sc [dc], and covering 6 triangle edges and the points of the diamond/spear shapes
· Put a stitch marker for the start and finish sp.
· ROW 1: att yarn in ch3 sp of the first diamond, *sc [dc], in the next 5sts, sc [dc], in the next 3 sps**, [they are the ch3 spaces in the top corner of the triangle, the top of the diamond, and the top corner of the next triangle]
Repeat from * to ** five times (you will have worked across six triangles altogether)
· Finish with sc [dc], in the ch3 sp of the next diamond (you should now have reached the second marker (49sts)
· ROW 2: ch1 turn sc [dc], in first st and every st to end (49sts)
· ROWS 3-6: Repeat row 2 (49sts)
This will have created the button flap
JOINING TWO FRONTS TOGETHER
· ROW 1: Att yarn in the same diamond point as you did the button band in
(this will be at the end of that first row of the button band, because you are now going to be completing that first row across the triangles that were not used to create the button band)
· So for that first sp there will be 2 sts, one from the button band and one for the side of the cushion,
· sc in the next ch3 sp, sc [dc], in next 5sts, sc [dc], in next 3 x ch3 sps, repeat to start of button band.
· Now you need to make an opening and replace the sts you used for the button band,
· ch 48sts, sl st into the first st, cut off and weave in ends (this chain will be the foundation row for the stitches that cross the gap that create the opening to allow you to get the cushion pad in and out – they form the first row of the stripy cylinder, along with the 96 stitches you have made across the 12 triangles not used in the ‘flap’ section)