Showing posts with label shell stitch. Show all posts

Sunday, 2 December 2018

DAY 2: CROCHET WIP'S ADVENT CALENDAR

Same stitch as yesterday but a pair of Wrist Warmers


WRIST WARMERS
US Terms
5mm hook
2 strands of dk
Make 2

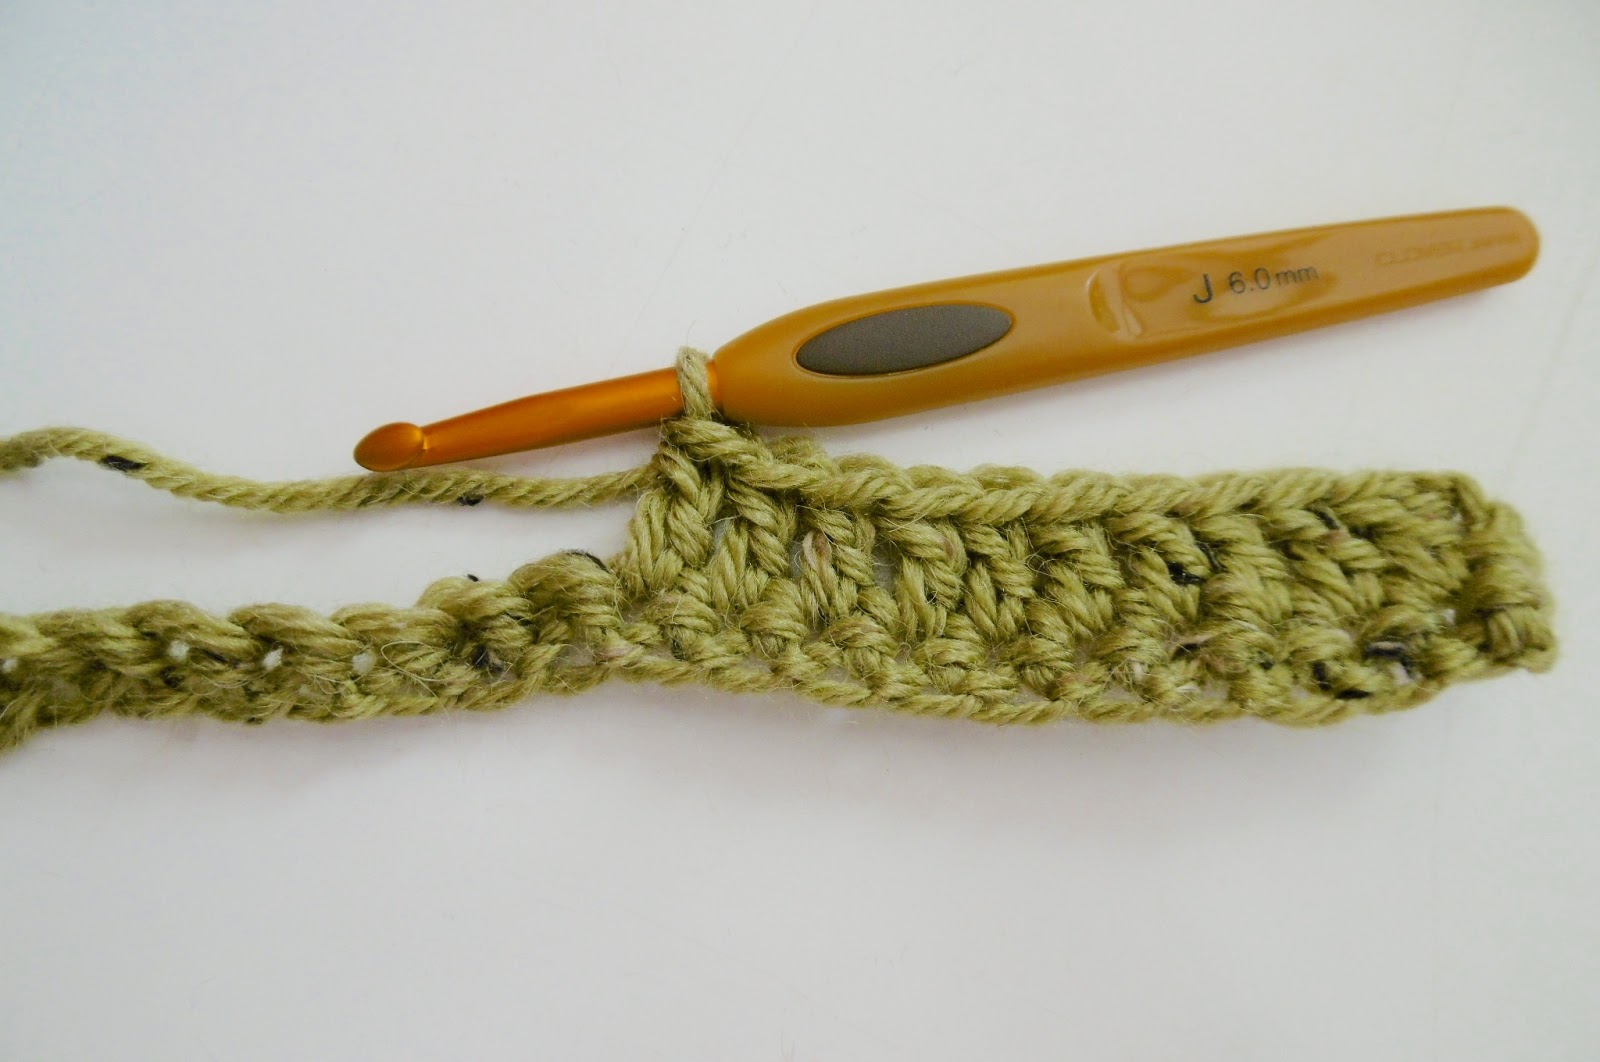
ELASTIC BASE CHAIN PATTERN
Want to eliminate the dreaded base chain?

Do you struggle with the fiddle of working into a base chain? 

Hate the tightness of the first row of your blanket? 

Base chains that twist? 

Eliminate chain stitches that aren't always easy to see.

Make the very first row of your wrist warmers or any blanket easy and fun.

I Know I was very happy to learn this stitch many years ago, hope you will find base chains fun to do from now on


Make a simple ch/sc base that will have elasticity, eliminate the dreaded and sometimes tight base chain that is always a fiddle to work into.

Not worked from left to right but at the end, when complete it is used in exactly the same as a base chain.

HOW TOO:

sl st on hook

ch2,

 insert hook into 2nd ch from hook, 


yo, pull back through, 2 loops on hook 


yo, pull through first st only, [basically make a ch st]

yo pull through both sts on hook
first st complete


repeat: 

insert hook into the last st, made.

yo, pull back though st, 2 loops on hook,


yo pull through first st only, [basically made a ch st]


yo pull through both sts on hook


2nd st complete


repeat until you have the length required.

turn and continue with the next st.


No tight base chain, an easy second row
now a fun stitch to do.....

It turns the often, tight base chain, that makes the next row of crochet a fiddle to do into an easy time saving base stitch, 

especially if you are making blankets with a 200 or 300 base chain.

It can also be used as a cord.

WRIST WARMER PATTERN:
Base chain: 25sts. Use the above elastic base chain pattern to start your wrist warmers 

ROW 1: ch2 counts as first dc, 10dc, miss a st, 3dc, ch2, 3dc, in next st, miss a st, 11dc, turn. [25sts]

ROW 2-9: Repeat row one, turn [23sts]

ROW 10: Repeat row 1, with a Decrease of one st, each end.turn each after each row [23sts]

ROW 11- 14: Repeat. turning after each row. [23sts]
 
ROW 15: Repeat with a decrease of 1st, each end. [21sts]

ROW 16 & 17: Repeat, pull yarn through last st, leave long end to sew tog. into a tube

Make 2, if you have longer arms then make them a row or two longer 


Saturday, 1 December 2018

DAY 1 CROCHET WIP'S ADVENT CALENDAR

CROCHET WIP's ADVENT CALENDAR 
DAY 1 

A Head Band/Ear warmers
Wanted a double version but not enough of the yarn i wanted to use so had to settle for a side layer

5mm hook
US Terms

to fit my head 21":
Base chain: 15sts

ROW 1: [14th and 15th ch, counts as first dc], 4dc, miss 2 sts, 3dc, ch1, 3dc in middle st, miss 2 sts, 4dc, turn,
repeat for as many rows as needed
join with a sl st, after each st, to join into a circle to fit.

Add a band to cover join
Base chain: 11sts

ROW 1: 2dc, miss 2sts, 3dc, ch2 3dc in middle sts, miss 2 sts, 2dc, turn and repeat for as many rows as needed
join around the main head band, with sl sts, after each st, to make into a circle.
sew off all ends
simple shell stitch centre decoration


colours aren't true as the light wasn't good but its soft aqua blue


Monday, 6 August 2018

Crescent Moon Wrap cont.

Hope everyone is getting enjoying the base pattern. I know a number of you have already made one or two base pieces ready to add the side bands too. Theses where you can design your own stitches with a few tips or wait and use one or other of the stitches suggested by the group

I've made 2 or 3 and used block stitch, finished with a tooth like triangle edging.... 

This one is smaller because i only had one ball of the bright yarn and i mixed it with the black and white yarn not been blocked yet but it is more of a scarf than a wrap


Dc, back post stitch, front post st, finished with a sc triangle..... 
this is the original one i made, is blocked, and measures approx. 6' long with 13 rows in the side band and small triangles to complete

shell stitch....
so far only added one round to this wrap, but i will be adding several rows of shells 

And the last one i am trying is a combination of stitches....


this last one is the bigger version deeper and wider. Same pattern but an increase to 25sts, [approx 50cm], a straight length [approx. 50cm] and a decrease of 25 sts [approx 50cm] SO YOU BASE CRESCENT IS APPROX 1.5M long before you start adding side rows.
The side band of is made up of pairs of 2dc, 'v' stitch, and dc in the spaces so far.

TIPS FOR ADDING THE SIDE BAND ROWS...Important you read this section thoroughly. The start and finish is very important for each row 

I have found that you don't need to increase on each round, other than at the beginning and end. 

I also used a tr st, to start and finish the points, this helps keep the points long. 

So the only increase i did for each round is 3tr, and 3dc in the first and last stitches, this was sufficient to curve the points into a crescent. Other than that it  DIDNT NEED ANY INCREASE ALONG THE LENGTH, it just seems to widen a little for each row.

You do need to start with enough stitches for each side section [side of each dc/tr] I used 4 or 5 sts into 2 sections, depending on which one i made.

This will enable you to use a lot of different stitches for the side rows, use one stitch or a combination of stitches 

So have a go at adding you favourite stitch or wait for the ones tried, pattern to be added each day through this week i will add 3 of mine this week and any others next week.
Have fun and be creative..

 Original Pattern AND INFO


BASE PATTERN FOR A CRESCENT WRAP
another brighter option i tried last night 


4MM HOOK, 
Space dyed yarn for automatic colour changes, dk 
US Terms.
A crescent shawl always sits beautifully around your shoulders wraps around you and give that 
lovely hug we all like

This pattern has been inspired by the crescent Moon and what it means....

The women of this world seem to have a very special connection to the moon, and the crescent moon
 is 
a beautiful way to express her dark and mysterious side. The moon is a symbol of regeneration, 
and without the female of the species bringing new life into the world, there would be no life.

FOR EVERYONE with a new beginning or new life in their family.

PATTERN
Please note that you start with a right angle triangle made from the top point to the wide base, then 
a straight length, then a right angle triangle from the wide bit to the finishing point.

INCREASE is ONLY ON ONE SIDE, and the other side is kept straight making a right angled triangle.

Sl st, on hook, ch3
ROW 1: dc, in first ch, [2dc]

ROW 2: ch2, turn miss the first st, dc into sp. [2dc]


ROW 3: ch2, turn, dc in first st, dc in next st, dc in sp between last 2 sts. [3dc]


ROW 4: ch2, turn, miss the first st, dc in next st, dc, in sp between last 2 sts. [3dc]

ROW 5: ch2, turn, dc in first st, dc in all sts, dc in sp between last 2 sts. [4dc]

ROW 6: ch2 turn, miss first st, dc in all stitches, dc in sp, between last 2 sts. [4dc]

NOTES: by row 6 you can easily see which is the straight side if you have difficulty then add a st, 
marker to the increase side so you always know which row starts with a stitch into first st.


ROWS 7-33: REPEAT ROWS 5 AND 6 ALTERNATELY
Ending with 2 rows of each increase...
2,2 3,3 4,4 5,5,6,6,7,7,8,8...... and so on, until you have 18sts in last 2 rows. [18dc]


ROWS 33-51: mark row 33, then work each row STRAIGHT, 
ONE STITCH IN EACH STITCH with NO INCREASE, FOR 19 ROWS.
the ch2 counts as the first st  [18sts]

IMPORTANT NOTE: This odd number of rows will ensure you can add almost any stitch to the
 side bands. Some stitches can be done in each section, so it doesn't matter how many sections 
you have, but some stitches require 2 sections e.g. a shell stitch you would do the shell in the
first section, and the anchor stitch in the second section, then repeat so at the end you would
 end the row with an anchor section if the number of sections is even, with the extra section 
[odd number of sections] you will have enough sections to finish with a shell st not the anchor....
hope that helps with designing the side rows?


ROWS 52-83: decrease ONLY on the same side as the increase and do 2 rows of each count, 17,17,16,16,15,15,14,14...as so on until only 2 stitches remain.
Pull yarn through and hold ready for the first row of the next stage.
HOW TO DECREASE
ch1, hold on hook, half make a dc pull yarn through both sts, now counts as 
one st. 

JOINING THE CAL?
the base crescent can be made in a couple of hours so if you are quick and want to make more 
than one ready for Monday and stage 2, feel free, I'm sure there will be lots of variations to 
have fun with.
SO... 4 Days to make one or more base crescent ready to add the chosen side bands. I will share
a few tips on adding your chosen stitches on Monday.

SOME YARN OPTIONS: 
Any yarn could be used but my suggestion is to use dk and 4mm hook
A space dyed yarn is a good idea, if you want to use lots of colours, so that you can concentrate 
on the increasing and decreasing.
Different coloured yarns can be used in the second stage side bands 


On Monday i will add my options for the side rows, there are many many options to complete 
this Crescent Moon wrap. Hope some of you will join the fun and try your own stitches so that we
 can make a few crochet community Wraps.

All the variations will be share by the participating Hookers on my Facebook Group
click the link and join the crochet community 

Here are a couple of the variations i've tried so far, there will be hundreds of options you could try,
 so have fun


Update August 3rd

2nd Crecsent Moon Shawl completed, this is more of a scarf than a wrap really as
 i only had one ball of the bright yarn.
8 pattern rows of Block stitch added to the base pattern with a spiky, 
black and cream tweed triangle edging