Showing posts with label crochet stitches. Show all posts

Monday, 6 April 2020

CoronaCal Ripple band pattern

Monday 6TH APRIL 2020 


RIPPLE ENDS PATTERN

Having joined 10 'eye' motifs together in a side by side with long half motifs at each corner, the blanket now has a deep ripple edge on two sides.

Before I give you the very basic ripple pattern I just want to say this might be extended when I add the decorative border pieces.
When this small repeat pattern Is finalised I will work out the length needed to add a set number of these. 
And why the ripple band might need to be EXTENDED.

With that in mind for now I have just added to rows of the ripple pattern..they might all be the same they might be other stitches so just 2 rows to match the joining rows for now.

Join my Facebook group for this pattern and to share you blankets so far.

Tuesday, 25 September 2018

SPIKE STITCH OR LONG STITCH


Spike stitch can be used in so many projects, in rows, in the round, as decoration...


Thursday, 2 August 2018

CRESCENT MOON BASE PATTERN CAL


BASE PATTERN FOR A CRESCENT WRAP
another brighter option i tried last night 


4MM HOOK, 

Space dyed yarn for automatic colour changes, dk 
US Terms.
A crescent shawl always sits beautifully around your shoulders wraps around you and give that 
lovely hug we all like

This pattern has been inspired by the crescent Moon and what it means....

The women of this world seem to have a very special connection to the moon, and the crescent moon
 is 
a beautiful way to express her dark and mysterious side. The moon is a symbol of regeneration, 
and without the female of the species bringing new life into the world, there would be no life.

FOR EVERYONE with a new beginning or new life in their family.

PATTERN
Please note that you start with a right angle triangle made from the top point to the wide base, then 
a straight length, then a right angle triangle from the wide bit to the finishing point.

INCREASE is ONLY ON ONE SIDE, and the other side is kept straight making a right angled triangle.

Sl st, on hook, ch3
ROW 1: dc, in first ch, [2dc]

ROW 2: ch2, turn miss the first st, dc into sp. [2dc]


ROW 3: ch2, turn, dc in first st, dc in next st, dc in sp between last 2 sts. [3dc]


ROW 4: ch2, turn, miss the first st, dc in next st, dc, in sp between last 2 sts. [3dc]

ROW 5: ch2, turn, dc in first st, dc in all sts, dc in sp between last 2 sts. [4dc]

ROW 6: ch2 turn, miss first st, dc in all stitches, dc in sp, between last 2 sts. [4dc]

NOTES: by row 6 you can easily see which is the straight side if you have difficulty then add a st, 

marker to the increase side so you always know which row starts with a stitch into first st.


ROWS 7-33: REPEAT ROWS 5 AND 6 ALTERNATELY
Ending with 2 rows of each increase...
2,2 3,3 4,4 5,5,6,6,7,7,8,8...... and so on, until you have 18sts in last 2 rows. [18dc]


ROWS 33-51: mark row 33, then work each row STRAIGHT, 
ONE STITCH IN EACH STITCH with NO INCREASE, FOR 19 ROWS.
the ch2 counts as the first st  [18sts]

IMPORTANT NOTE: This odd number of rows will ensure you can add almost any stitch to the
 side bands. Some stitches can be done in each section, so it doesn't matter how many sections 
you have, but some stitches require 2 sections e.g. a shell stitch you would do the shell in the
first section, and the anchor stitch in the second section, then repeat so at the end you would
 end the row with an anchor section if the number of sections is even, with the extra section 
[odd number of sections] you will have enough sections to finish with a shell st not the anchor....
hope that helps with designing the side rows?


ROWS 52-83: decrease ONLY on the same side as the increase and do 2 rows of each count, 17,17,16,16,15,15,14,14...as so on until only 2 stitches remain.
Pull yarn through and hold ready for the first row of the next stage.
HOW TO DECREASE
ch1, hold on hook, half make a dc pull yarn through both sts, now counts as 
one st. 

JOINING THE CAL?
the base crescent can be made in a couple of hours so if you are quick and want to make more 
than one ready for Monday and stage 2, feel free, I'm sure there will be lots of variations to 
have fun with.
SO... 4 Days to make one or more base crescent ready to add the chosen side bands. I will share
a few tips on adding your chosen stitches on Monday.

SOME YARN OPTIONS: 
Any yarn could be used but my suggestion is to use dk and 4mm hook
A space dyed yarn is a good idea, if you want to use lots of colours, so that you can concentrate 
on the increasing and decreasing.
Different coloured yarns can be used in the second stage side bands 


On Monday i will add my options for the side rows, there are many many options to complete 
this Crescent Moon wrap. Hope some of you will join the fun and try your own stitches so that we can make a few crochet community Wraps.

All the variations will be share by the participating Hookers on my Facebook Group
click the link and join the crochet community 

Here are a couple of the variations i've tried so far, there will be hundreds of options you could try, so have fun


Update August 3rd

2nd Crecsent Moon Shawl completed, this is more of a scarf than a wrap really as i only had one ball of the bright yarn.
8 pattern rows of Block stitch added to the base pattern with a spiky, 
black and cream tweed triangle edging 

Saturday, 30 September 2017

SEEING STARS...In one post

I have made up many Star pattern over the years here are just a few that could make great Christmas Blankets

BASIC STAR PATTERNS FROM 2011...


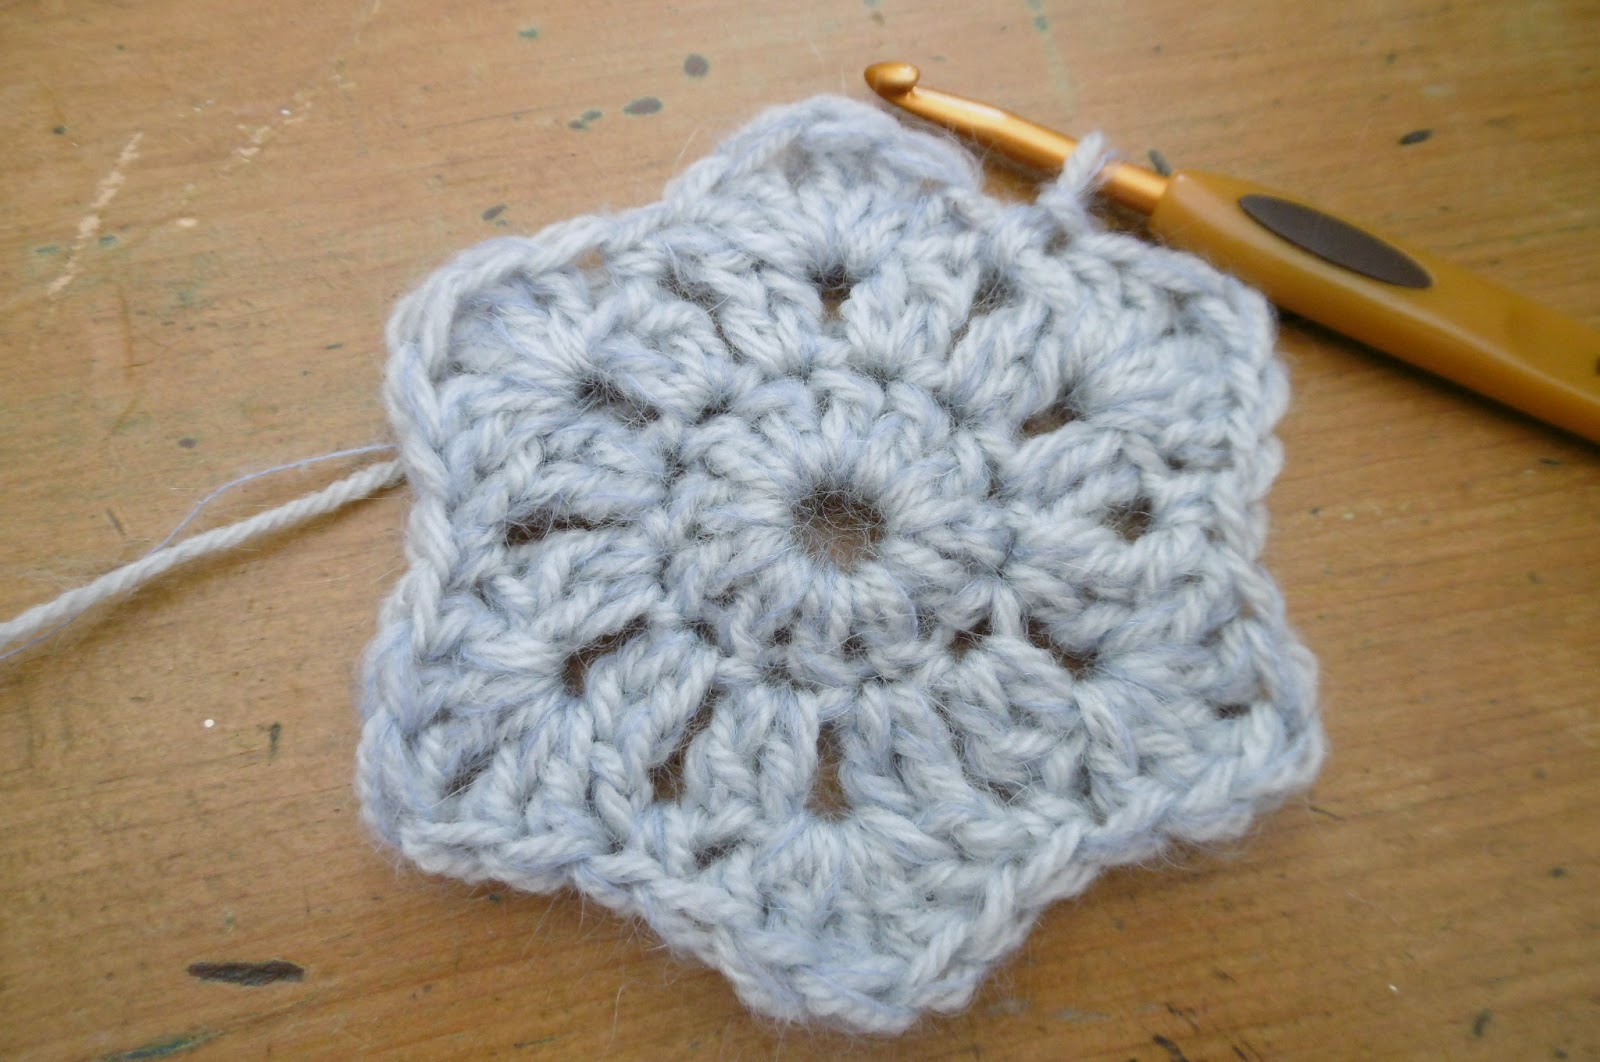
STAR PATTERN: US TERMS, UK terms in brackets
picture pattern

Change colour every round
A finger wrap of 5 wraps or ch4, sl st into circle

Round 1: 12dc [12tr], into circle

Round 2: 2dc [2tr], into next 2 sts, ch2, repeat for all 6 sides, els t to complete.

Round 3: 3dc [3tr], ch3, 3dc [3tr] into ch2 sp, miss a st, sc [dc], into next 2 sts, miss a st,repeat for all 6 sides, sl st to complete

Round 4: Join as you go round, start in a ch3 point, sc [dc], ch3, sc [dc], into ch3 point, sc [dc], into next 3sts, miss the next 2 sts, sc [dc], into next 3 sts, repeat for all sides.
Join at the points only using the 2nd ch st as a sl st into the next star, join 2 points to 2 points of each star.


2 options for joining below.....

 Add rounds of dc to make a cushion

 Add a deep band for a box cushion

2 BASIC SOLID STAR
DK 4mm Hook
Aran 5mm 
Chunky 6mm 

US Terms in black, UK Terms in red brackets


4mm hook dk
5mm hook Aran

Pattern 1
  finger wrap of 4 wraps.

Round 1: ch2 counts as first dc [tr], 11dc [11tr] into circle (12 dc [12tr])

Round 2: ch2 counts as first dc [tr], 1dc,  in first st, 2dc [2tr], in second st, ch2,  repeat to end sl st into  first st to complete (24dc [24tr])

Round 3: att. yarn in any ch sp,  5dc [5tr],  into the centre of the dip,  sl st into next ch sp,  repeat until 
6 points, sl st into first st, to complete. (6 points)

Round 4: att. yarn in any point, 3dc [3tr], into the dip one side of the sl st, ch3,  3dc [3tr], into the other side of the sl st,
US Terms in black, UK Terms in red brackets

Pattern 2
 A finger wrap of 4 wraps.

Round 1: ch2 counts as first dc [tr], 11dc [11tr] into circle (12 dc [12tr])

Round 2: cont. ch2 counts as first dc [tr], 1dc,[1tr],  in first st, 2dc [2tr], in second st, ch2,  repeat to end sl st into  first st to complete (24dc [24tr])


Round 3: cont. sl st over sts to next ch2 sp, or att. yarn in any ch sp,  miss 2 sts, 2dc [2tr], 1tr [1dtr], 2dc [2tr] into sp between 2 pairs of sts, miss 2sts, 
sc [dc], into next ch sp,  repeat until 
6 points, sl st into first st, to complete. (6 points)


Round 4: Cont. sl st in the next 3 sts to reach the tr [dtr], at the point,
tr [dtr], ch1, tr [dtr], ch1, tr [dtr], ch3, tr [dtr], ch1, tr [dtr],  ch1, tr [dtr], into the sc [dc], at dip,  
miss 2sts, sc [dc], into next tr [dtr], at point, repeat for all points.


without the ch1 between tr [dtr] 
below with the ch1 between tr [dtr]

 a slightly more star like effect

Join as you go at the points

IN ONE COLOUR OR A DIFFERENT COLOUR EACH ROUND....


Rainbow of Stars


 Curtain of Stars


SC JOIN AS YOU GO OPTION

SOLID JOIN AS YOU GO
US TERMS UK TERMS IN BRACKETS
DK 4mm hook
Aran 5mm hook

Midnight Sky Stars
Fill-in pattern
Round 1: Attach yarn at a star point 
1tr [1dtr], 3dc [3tr] 1tr [1dtr] into the middle st at dip sc into next point
repeat for all dips x6

Round 2: then 'Join as you go' in this round
with a sc [dc], in every stitch with sc [dc], ch3 sc [dc], at the points

the picture collage written instruction is incorrect but the pictures are useful 


SPIKE STITCH STAR PICTURE PATTERN


TO EDGE A BLANKET